The Trippy motor driver project

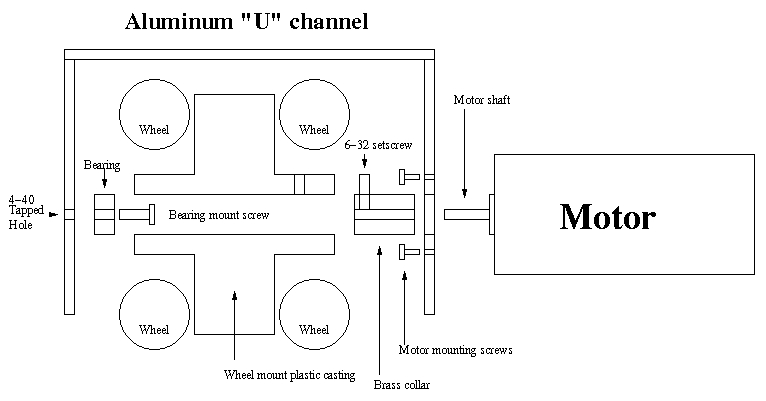
Checking the schematic against the reference documents. |

Can you see the four wires that are going to the wrong place? |
Taking it apart
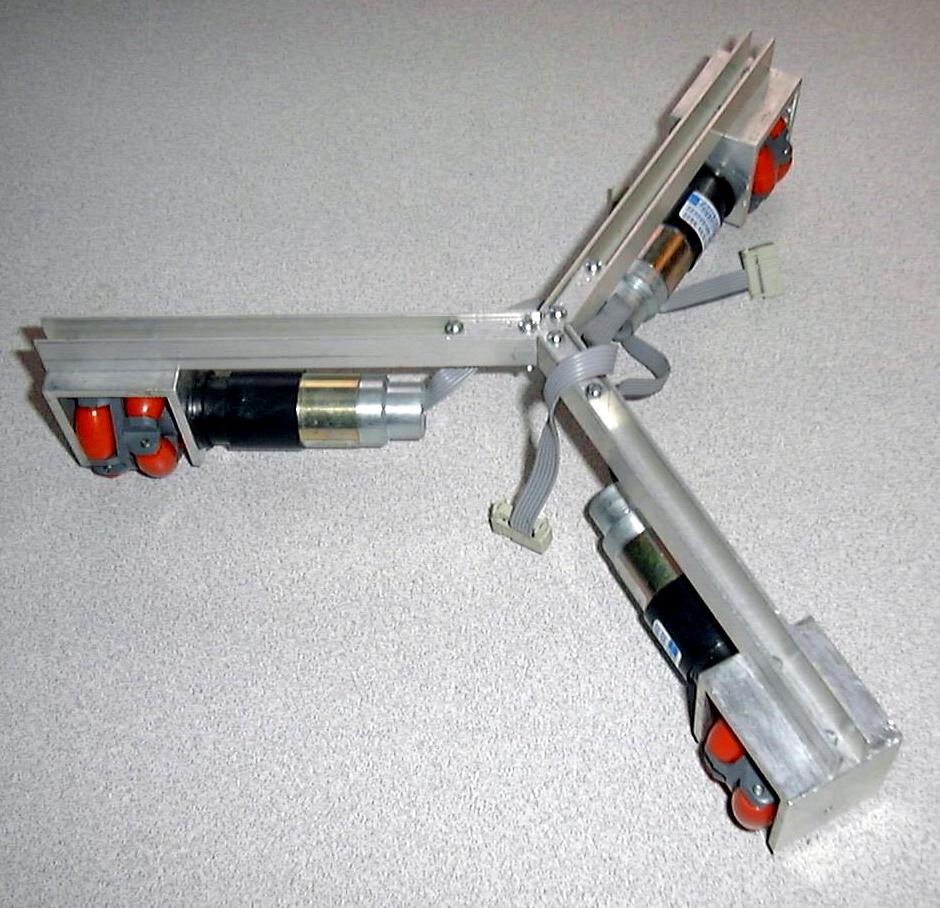
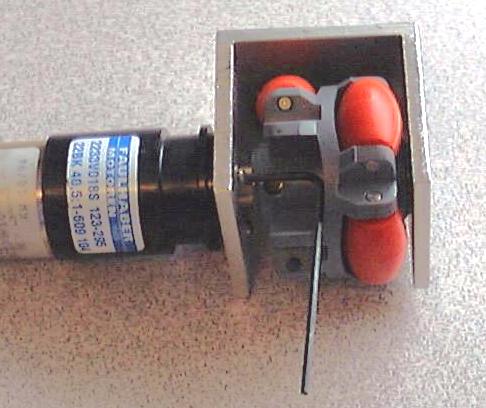
Before the pit stop to change wheels |
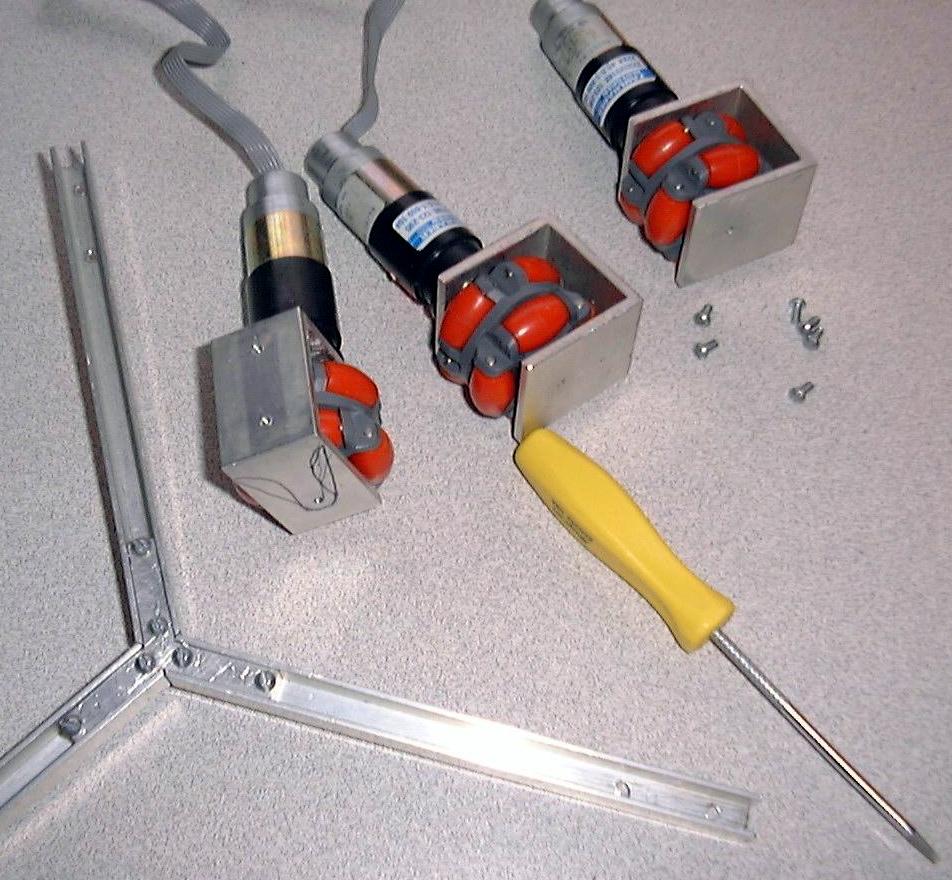
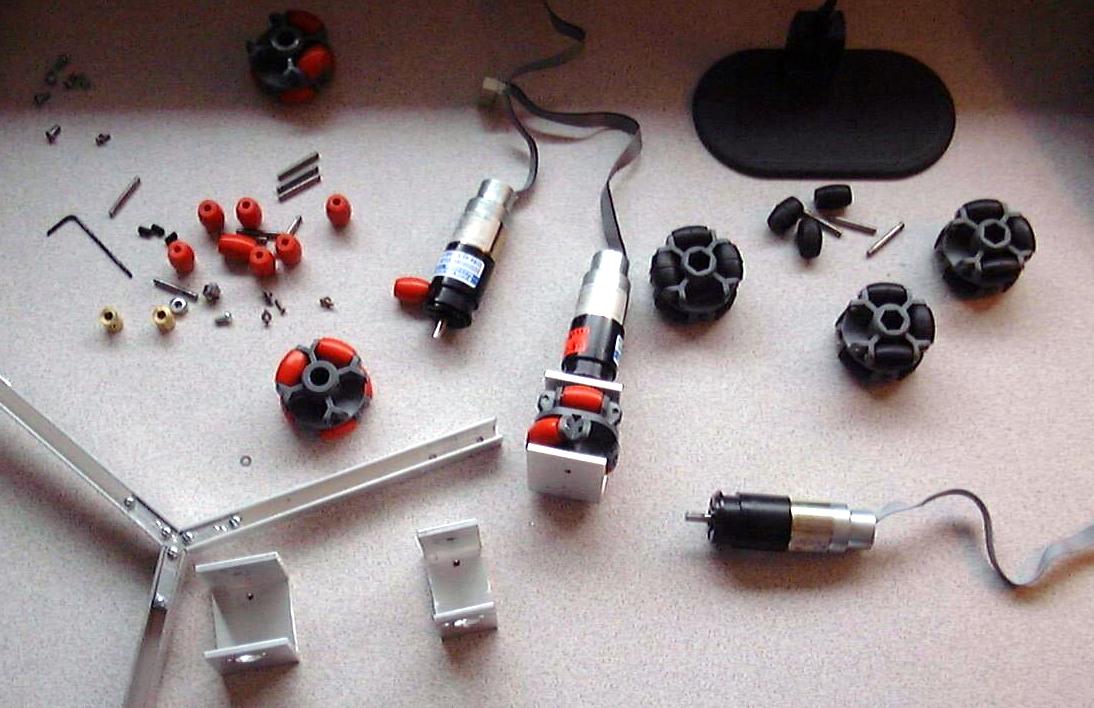
Wheel assemblies off. |
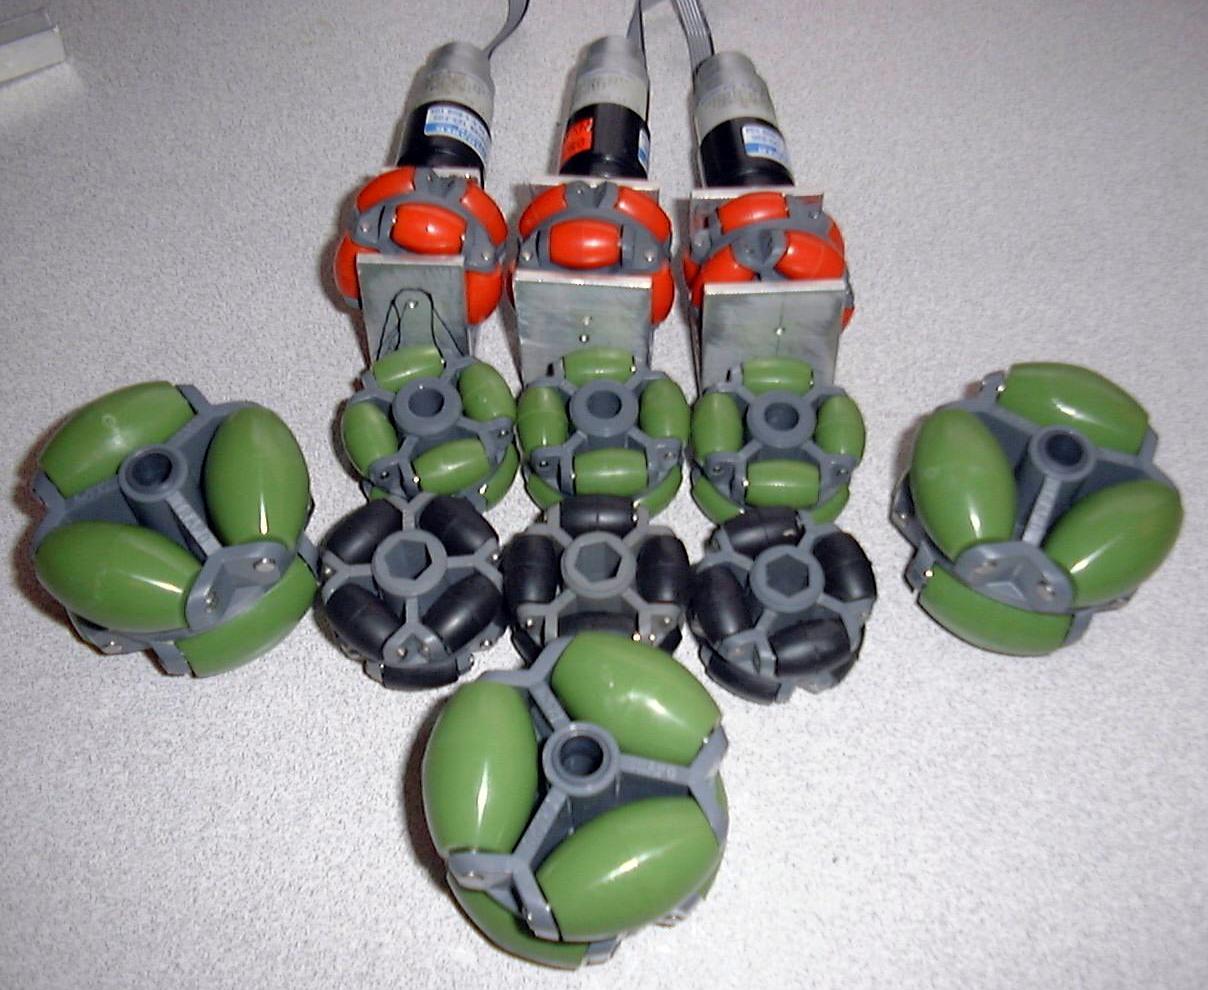
I have NO IDEA why I have soo many wheels! |
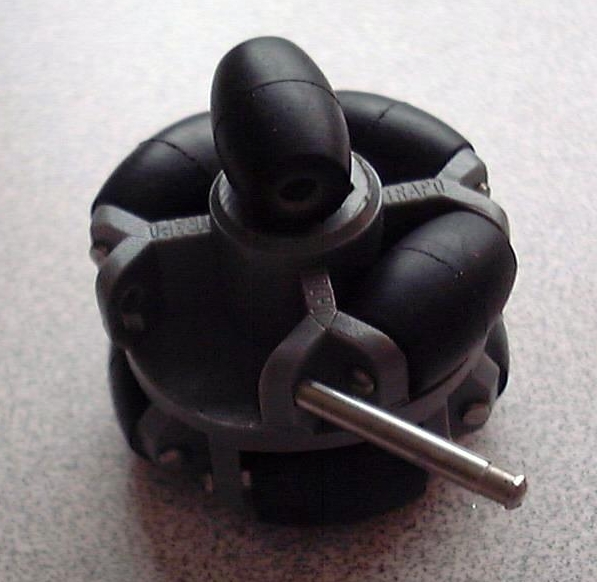
The rubber wheel with one roller removed. |

Wheel assembly before wheel removal. You can see one roller removed. Unfortunately, it's the wrong one! |

To get a roller pin pressed out, grow two extra hands. Notice the tape? I'm about to press out the wrong roller. BooHoo. |
Now, you can barely get at the bolts holding the motor in place. |
|
Now, you can get to the inner bearing screw. |

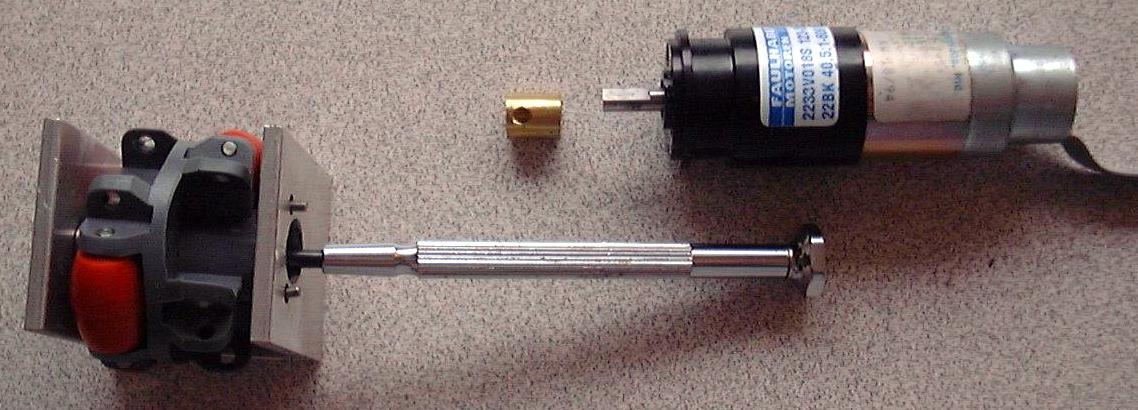
And FINALLY, all apart! I had to take out THREE rollers before I got the right one! |
Only one more to go! |
|
I might as well change the motor mounts a little bit while they are off. I'll cut out some of the un needed metal so you can see the wheels better. |